Santa delivered a vinyl record player this year! We had great fun listening to old records from our past. One of the best things about the vinyl experience is the excellent user interface, with touch, feel and even smell. But our record collection is not in the best shape and after a while I missed the less scratchy digital downloads I’d become used to. So I looked for a way to combine the user interface of vinyl with the more predictable quality of mp3 files, and the result wasScratchy!
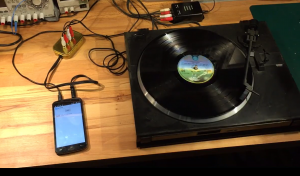
The idea is to connect the turntable audio output via a black box to an Android app, which listens to what is being played, identifies the album, and plays a digital version of it. At the top level the system looks like this:
Record Player -> Black Box -> Android App -> Amplifier -> Speakers
The black box has two main purposes:
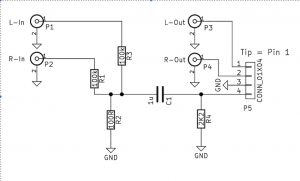
- to trick the android phone into thinking there is a microphone attached. This just requires a 2.2k resistor from the mic input to ground. Any value resistor above 1k will do, lower values may trigger the phone to mute the audio.
- to drop the voltage from line level to mic level and to combine the stereo channels into one. A simple 100:1 resistor divider does the job. This is not needed if the turntable outputs a low level signal.
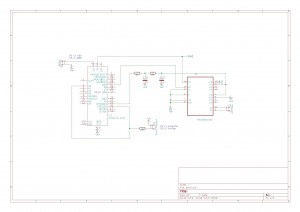
Here is the schematic:
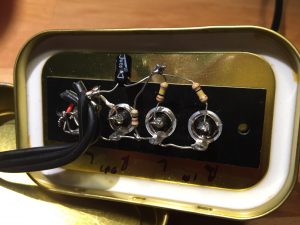
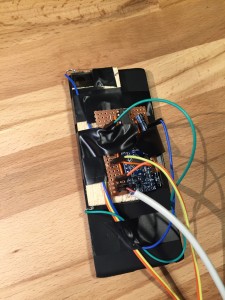
And here is a view inside the black box:
In normal operation the android app runs in a loop as follows:
- Listen for a new record being played
- Identify the album
- Play a digital version of the album
- Continue to listen to the turntable output and stop the currently playing album if a period of silence is heard (needle up)
- Back to 1
Album identification is done by listening to the first five seconds of audio, fingerprinting it, and then looking up the fingerprint in a database. Fingerprinting is based on an algorithm published by Shazam (ref). The incoming audio is split into 0.1 second samples which are Fourier-transformed, and a set of representative note pairs extracted. See the linked reference for more details on how this works.
The app is trained to recognise new albums by switching to Learn mode, entering the name of the m3u file that it corresponds to, and then playing the album. When audio starts, the app will fingerprint about 7 seconds of it and store the fingerprint together with the m3u filename in a database.
The source album doesn’t need to be of high quality – old scratched records work just as well, as long as the first few seconds can be played and recognised. It is even possible to associate a digital album with a completely different physical record!
Here is a short video of Scratchy in operation:
The android app was written in C# using the Xamarin framework. Full source code can be found here: https://github.com/ynformatics/scratchy
I hope you find it useful.

![IMG_6002[1]](https://ynformatics.com/wp-content/uploads/2016/03/IMG_60021-300x225.jpg)
