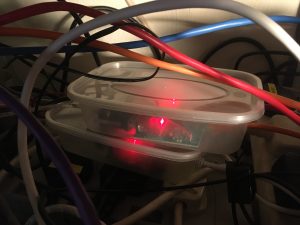
I needed to connect some more test equipment to my LAN. Currently this is done with individual Serial-to-Ethernet adapters in takeaway curry containers but this was getting ungainly and wasteful of internet ports.
Commercial 8-port RS232 to ethernet devices are available, but expensive, so time to DIY! I had a teensy 4.1 on hand and this looked like a good contender with in-built ethernet PHY, eight hardware serial ports and an Arduino compatible software stack (Teensyduino). It just needs an external Ethernet jack with magnetics (from PJRC) and eight RS232 DB9 connectors with MAX3232 level shifters (£1 each from from china).
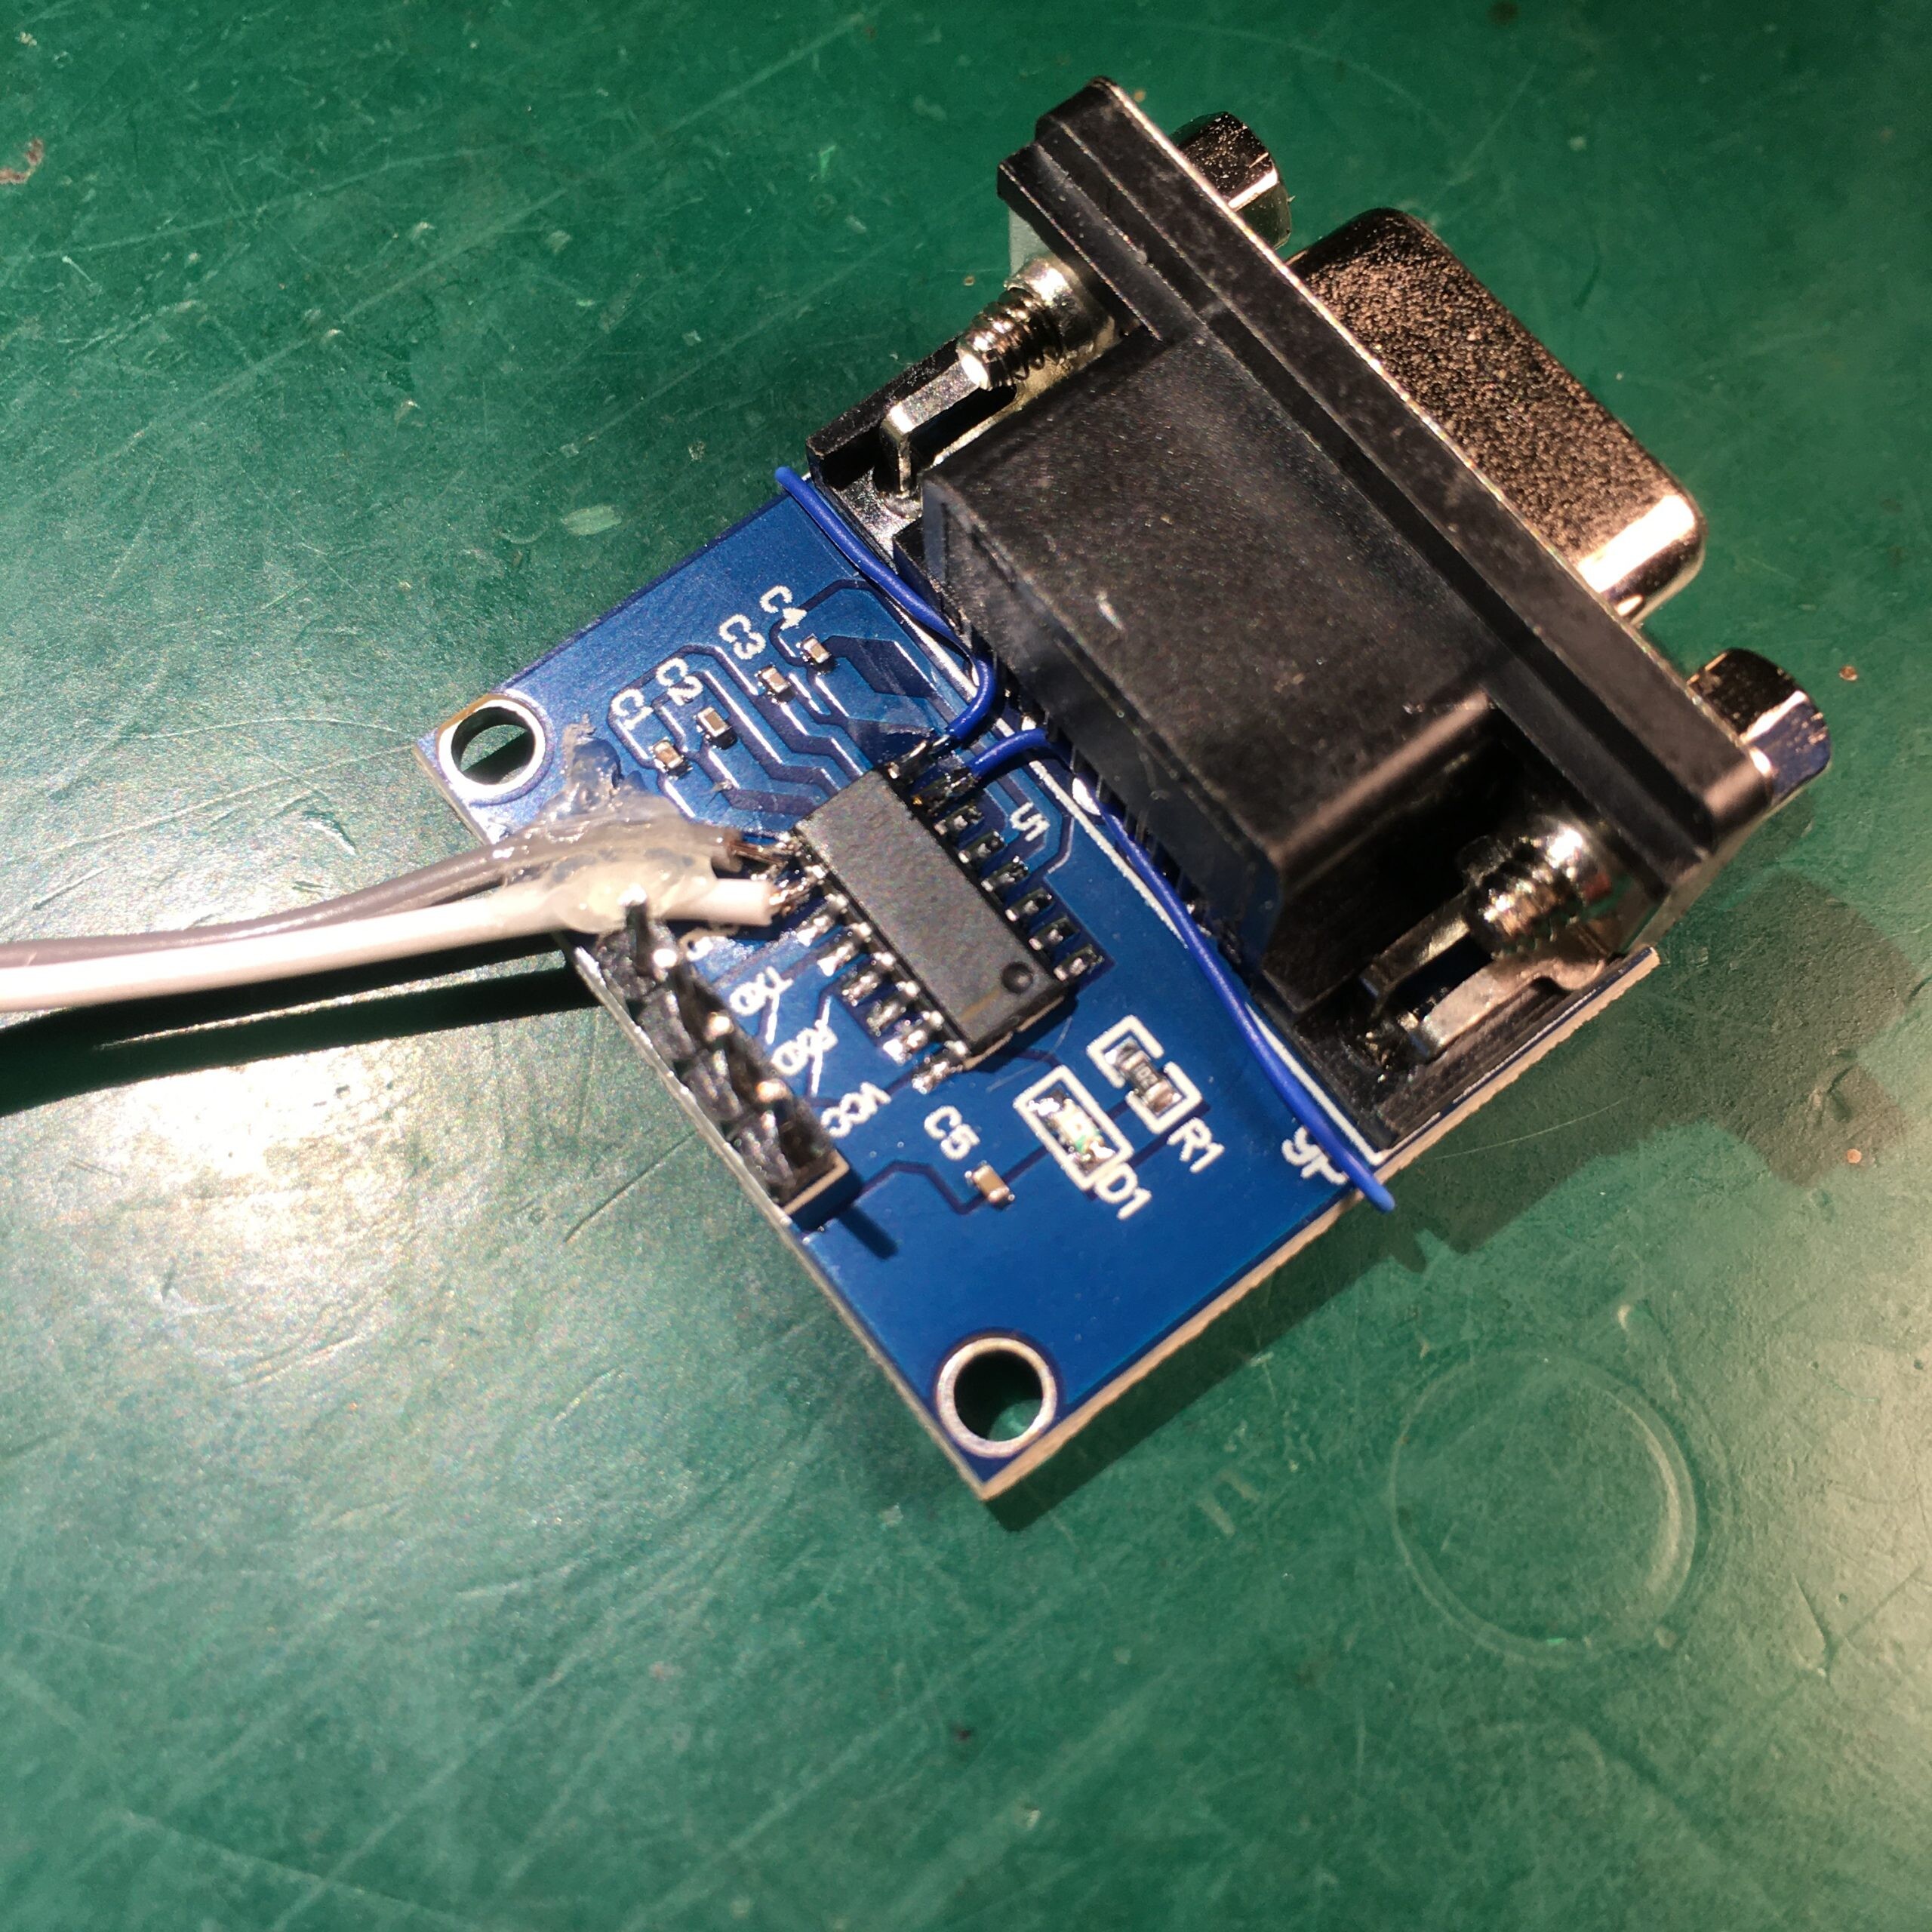
The level shifters typically come with just TX and RX pins connected. They can be easily hacked to add CTS/RTS support. Just connect CTS (pin 7 on the DB9) to pin 8 of the MAX3232 and RTS (DB9 pin 8) to MAX3232 pin 7. Logic level CTS/RTS are then available on IC pins 9/10 respectively. Here are some pics of the mods I made:

For software we need 8 TCP listeners each listening to a different port at the same IP address. I had trouble getting the NativeEthernet library to reliably support 8 connections but the QNEthernet library worked fine.
The algorithm just loops around each TCP port, and if there are any incoming bytes available reads them and forwards them to the corresponding serial port. And vice versa.
There is also an embedded webserver that allows configuration of the networking and serial port parameters.
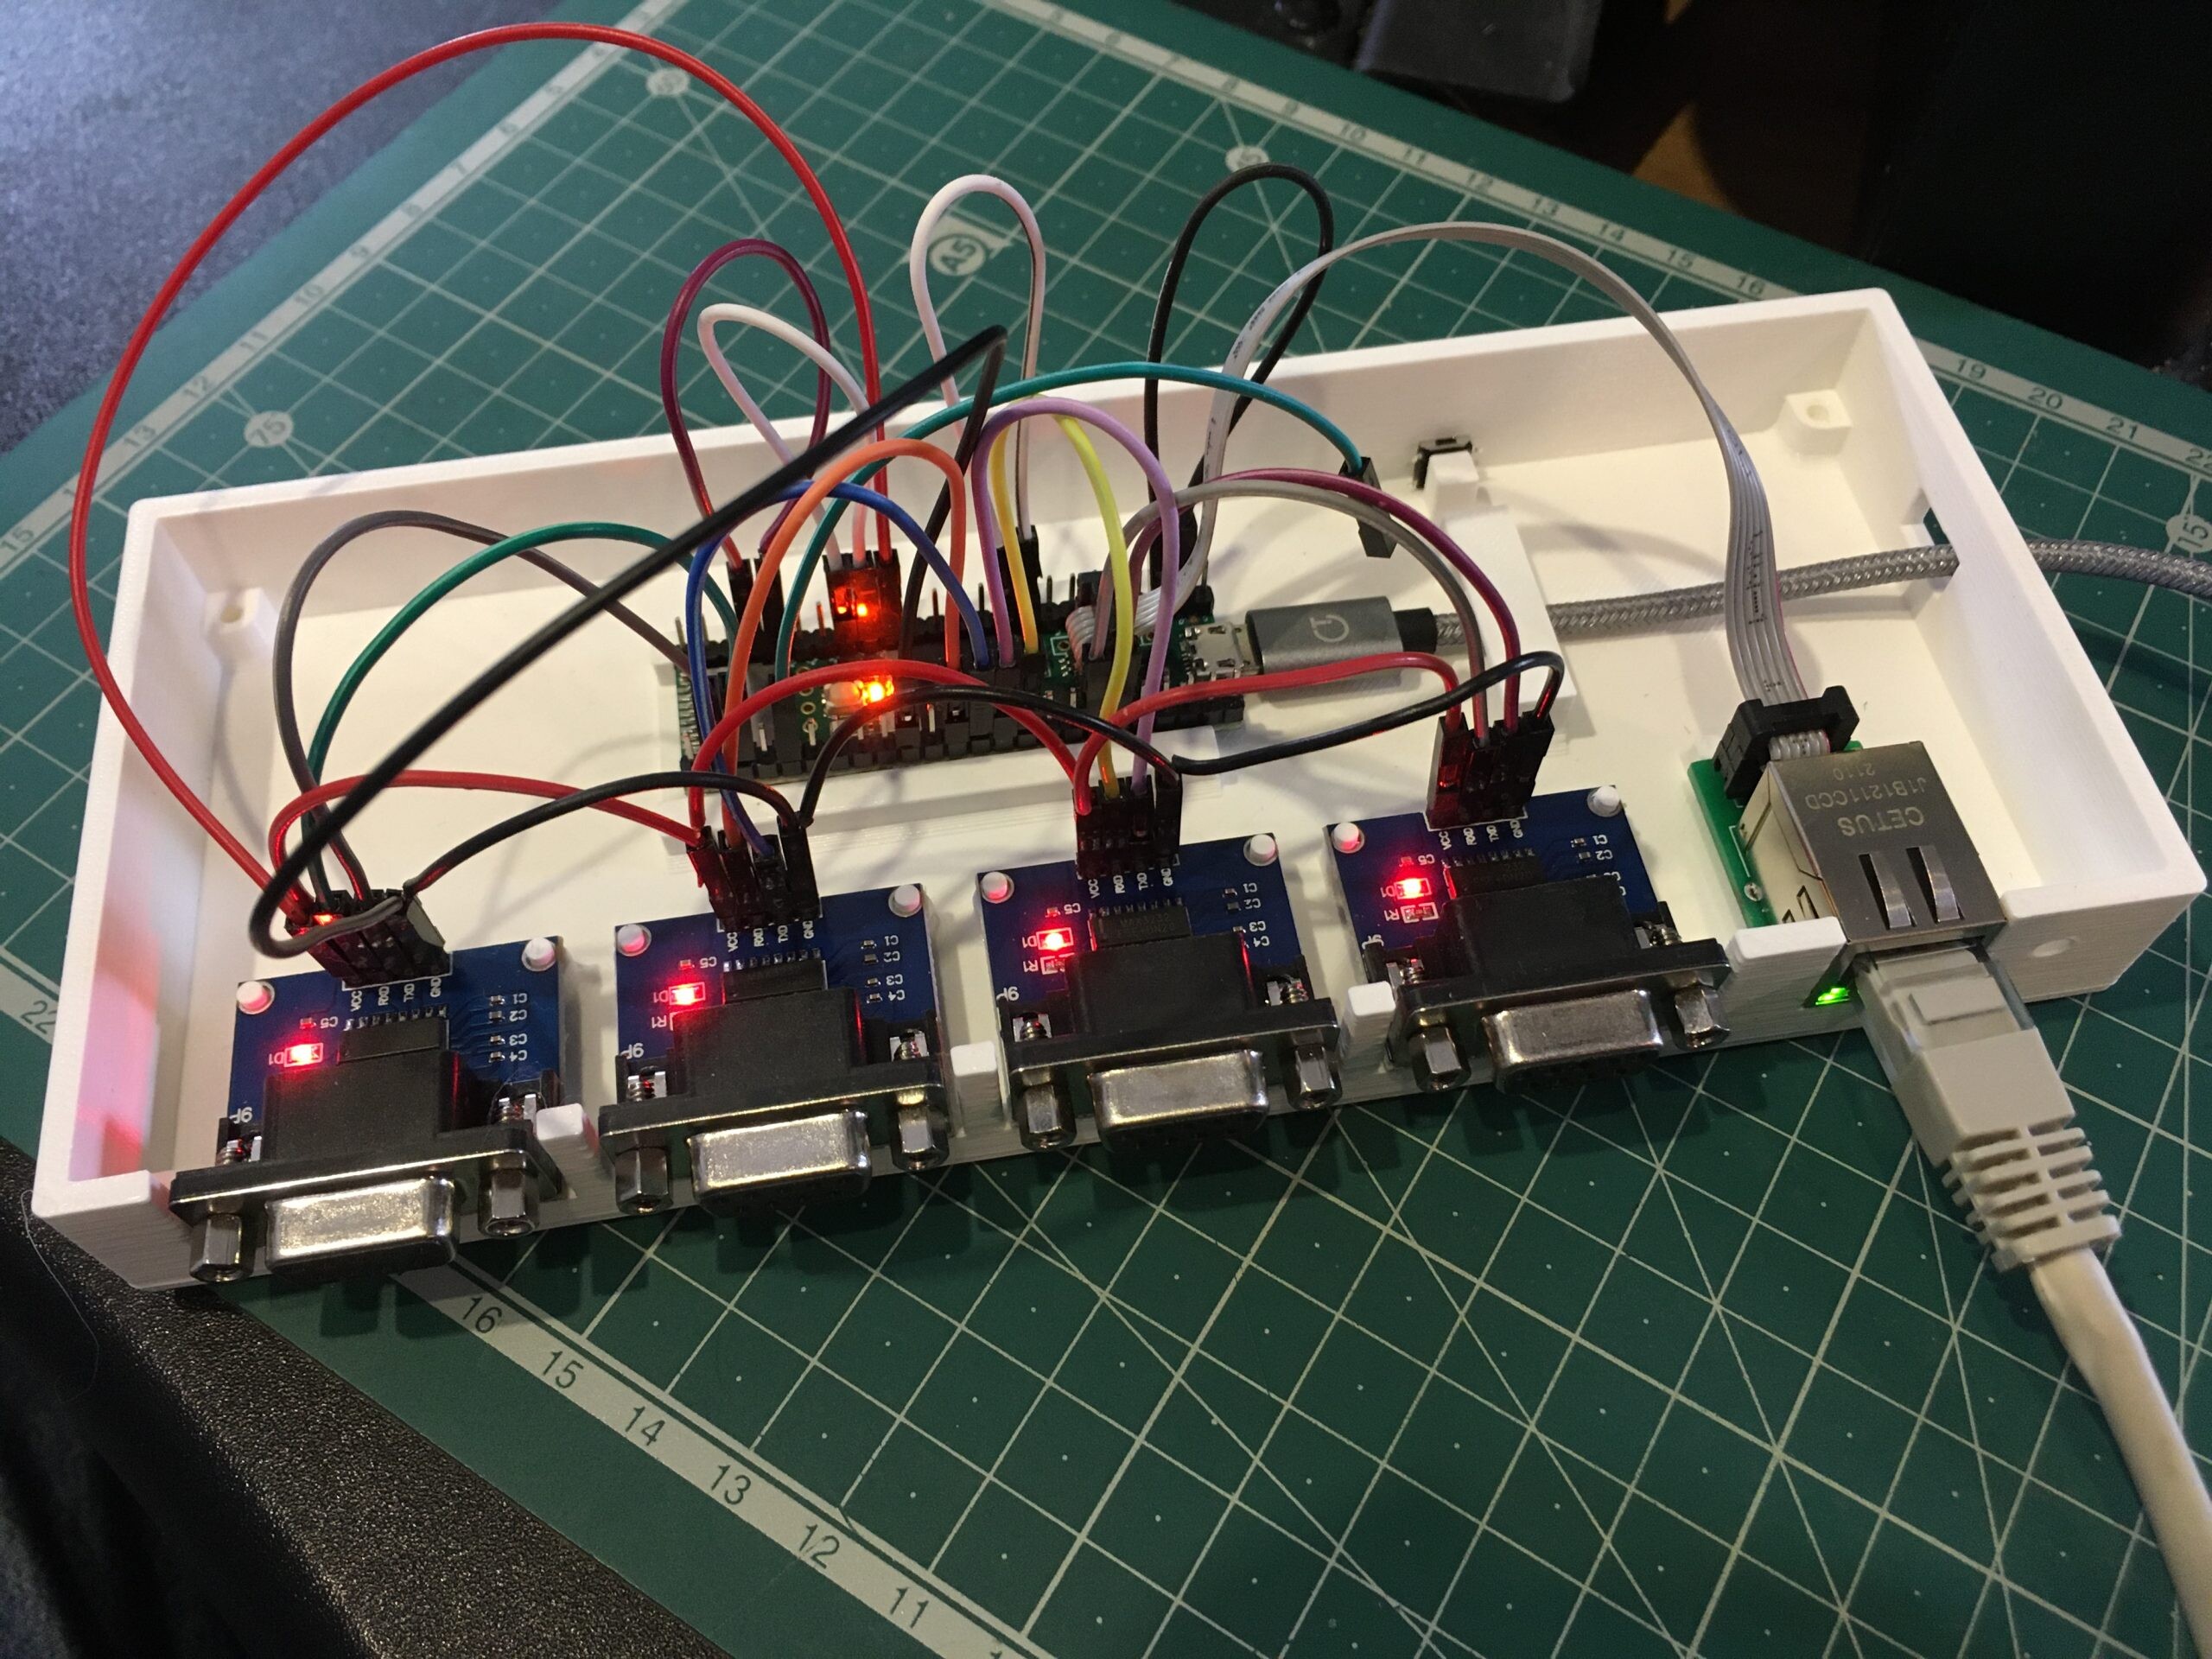
Here is the teensy being tested with each serial port looped back to itself. Grounding the green wire reboots the board in webserver mode where device settings can be configured.

Next a 3D printed case was designed in Fusion 360
Here is the bottom section with 4 serial ports installed. A few dabs of hot glue can be used if needed to keep things in place. If you only need 4 ports then the top can be fixed at this point.
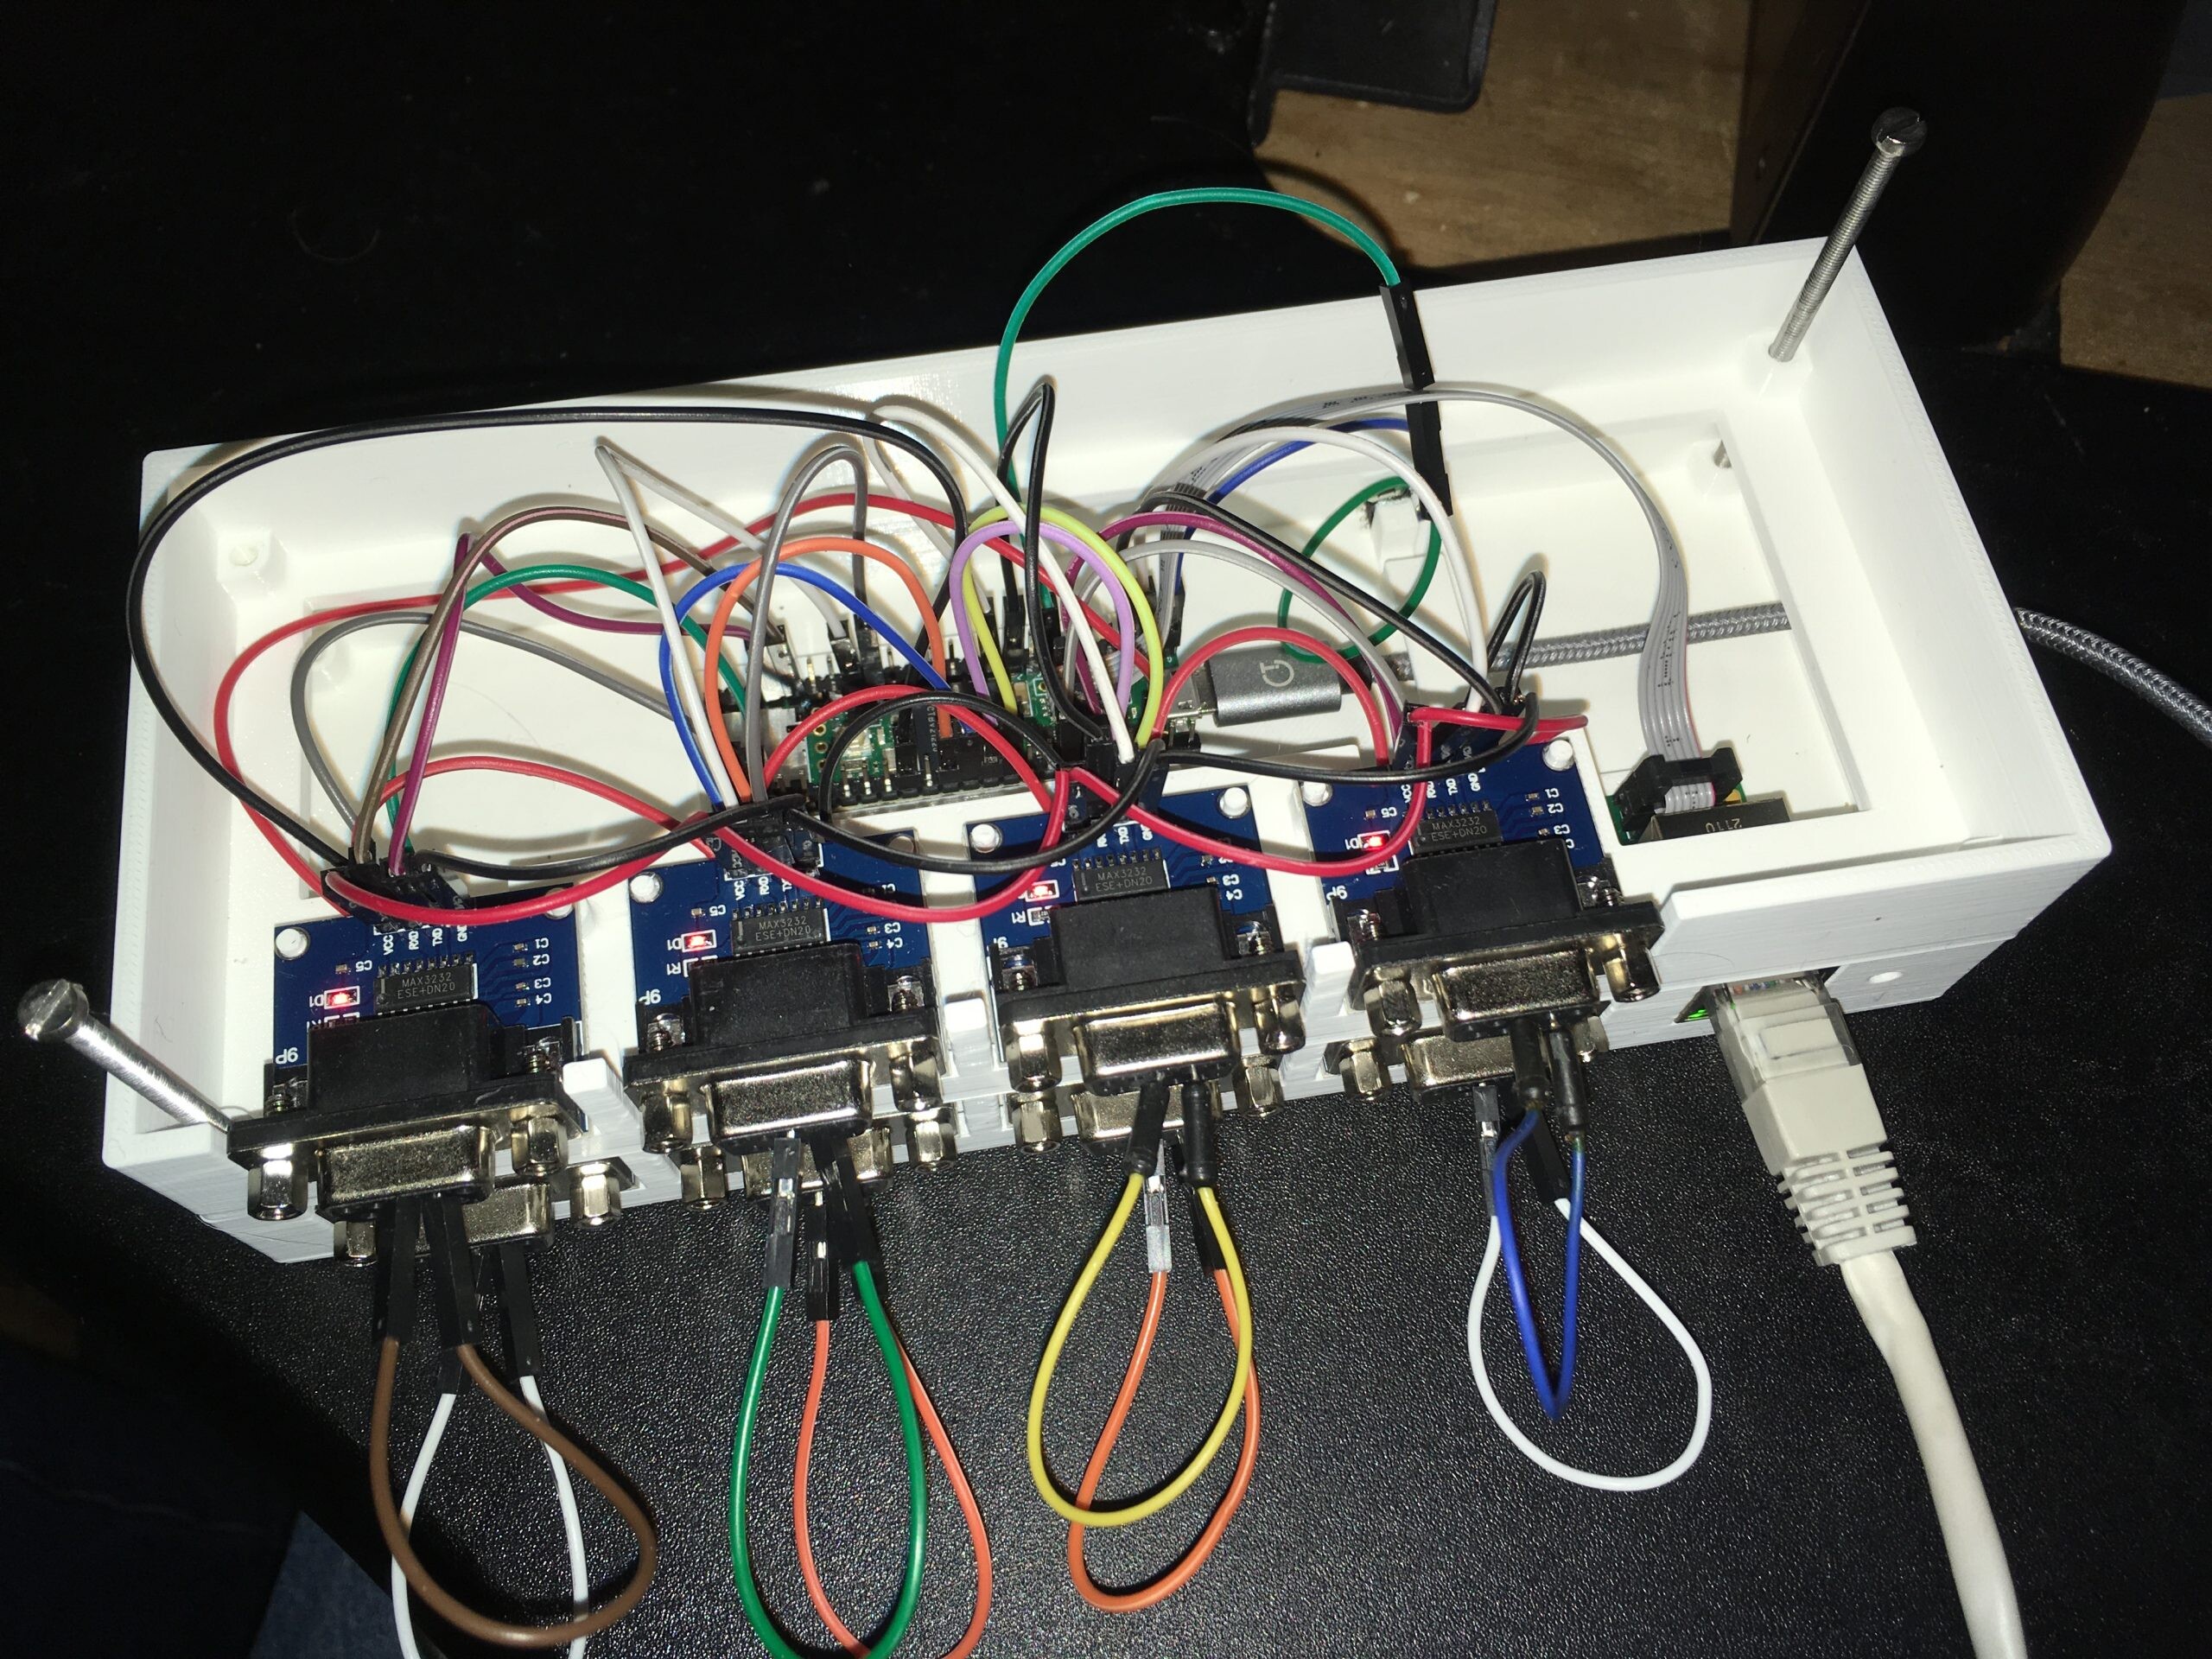
Here showing the middle 3D printed layer in place with the top 4 serial ports. A small tactile switch to enable config mode has been glued in. At this point all RX/TX pairs are looped back for testing.
And finally the top is added and all three layers sandwiched with 53mm M3 machine screws.
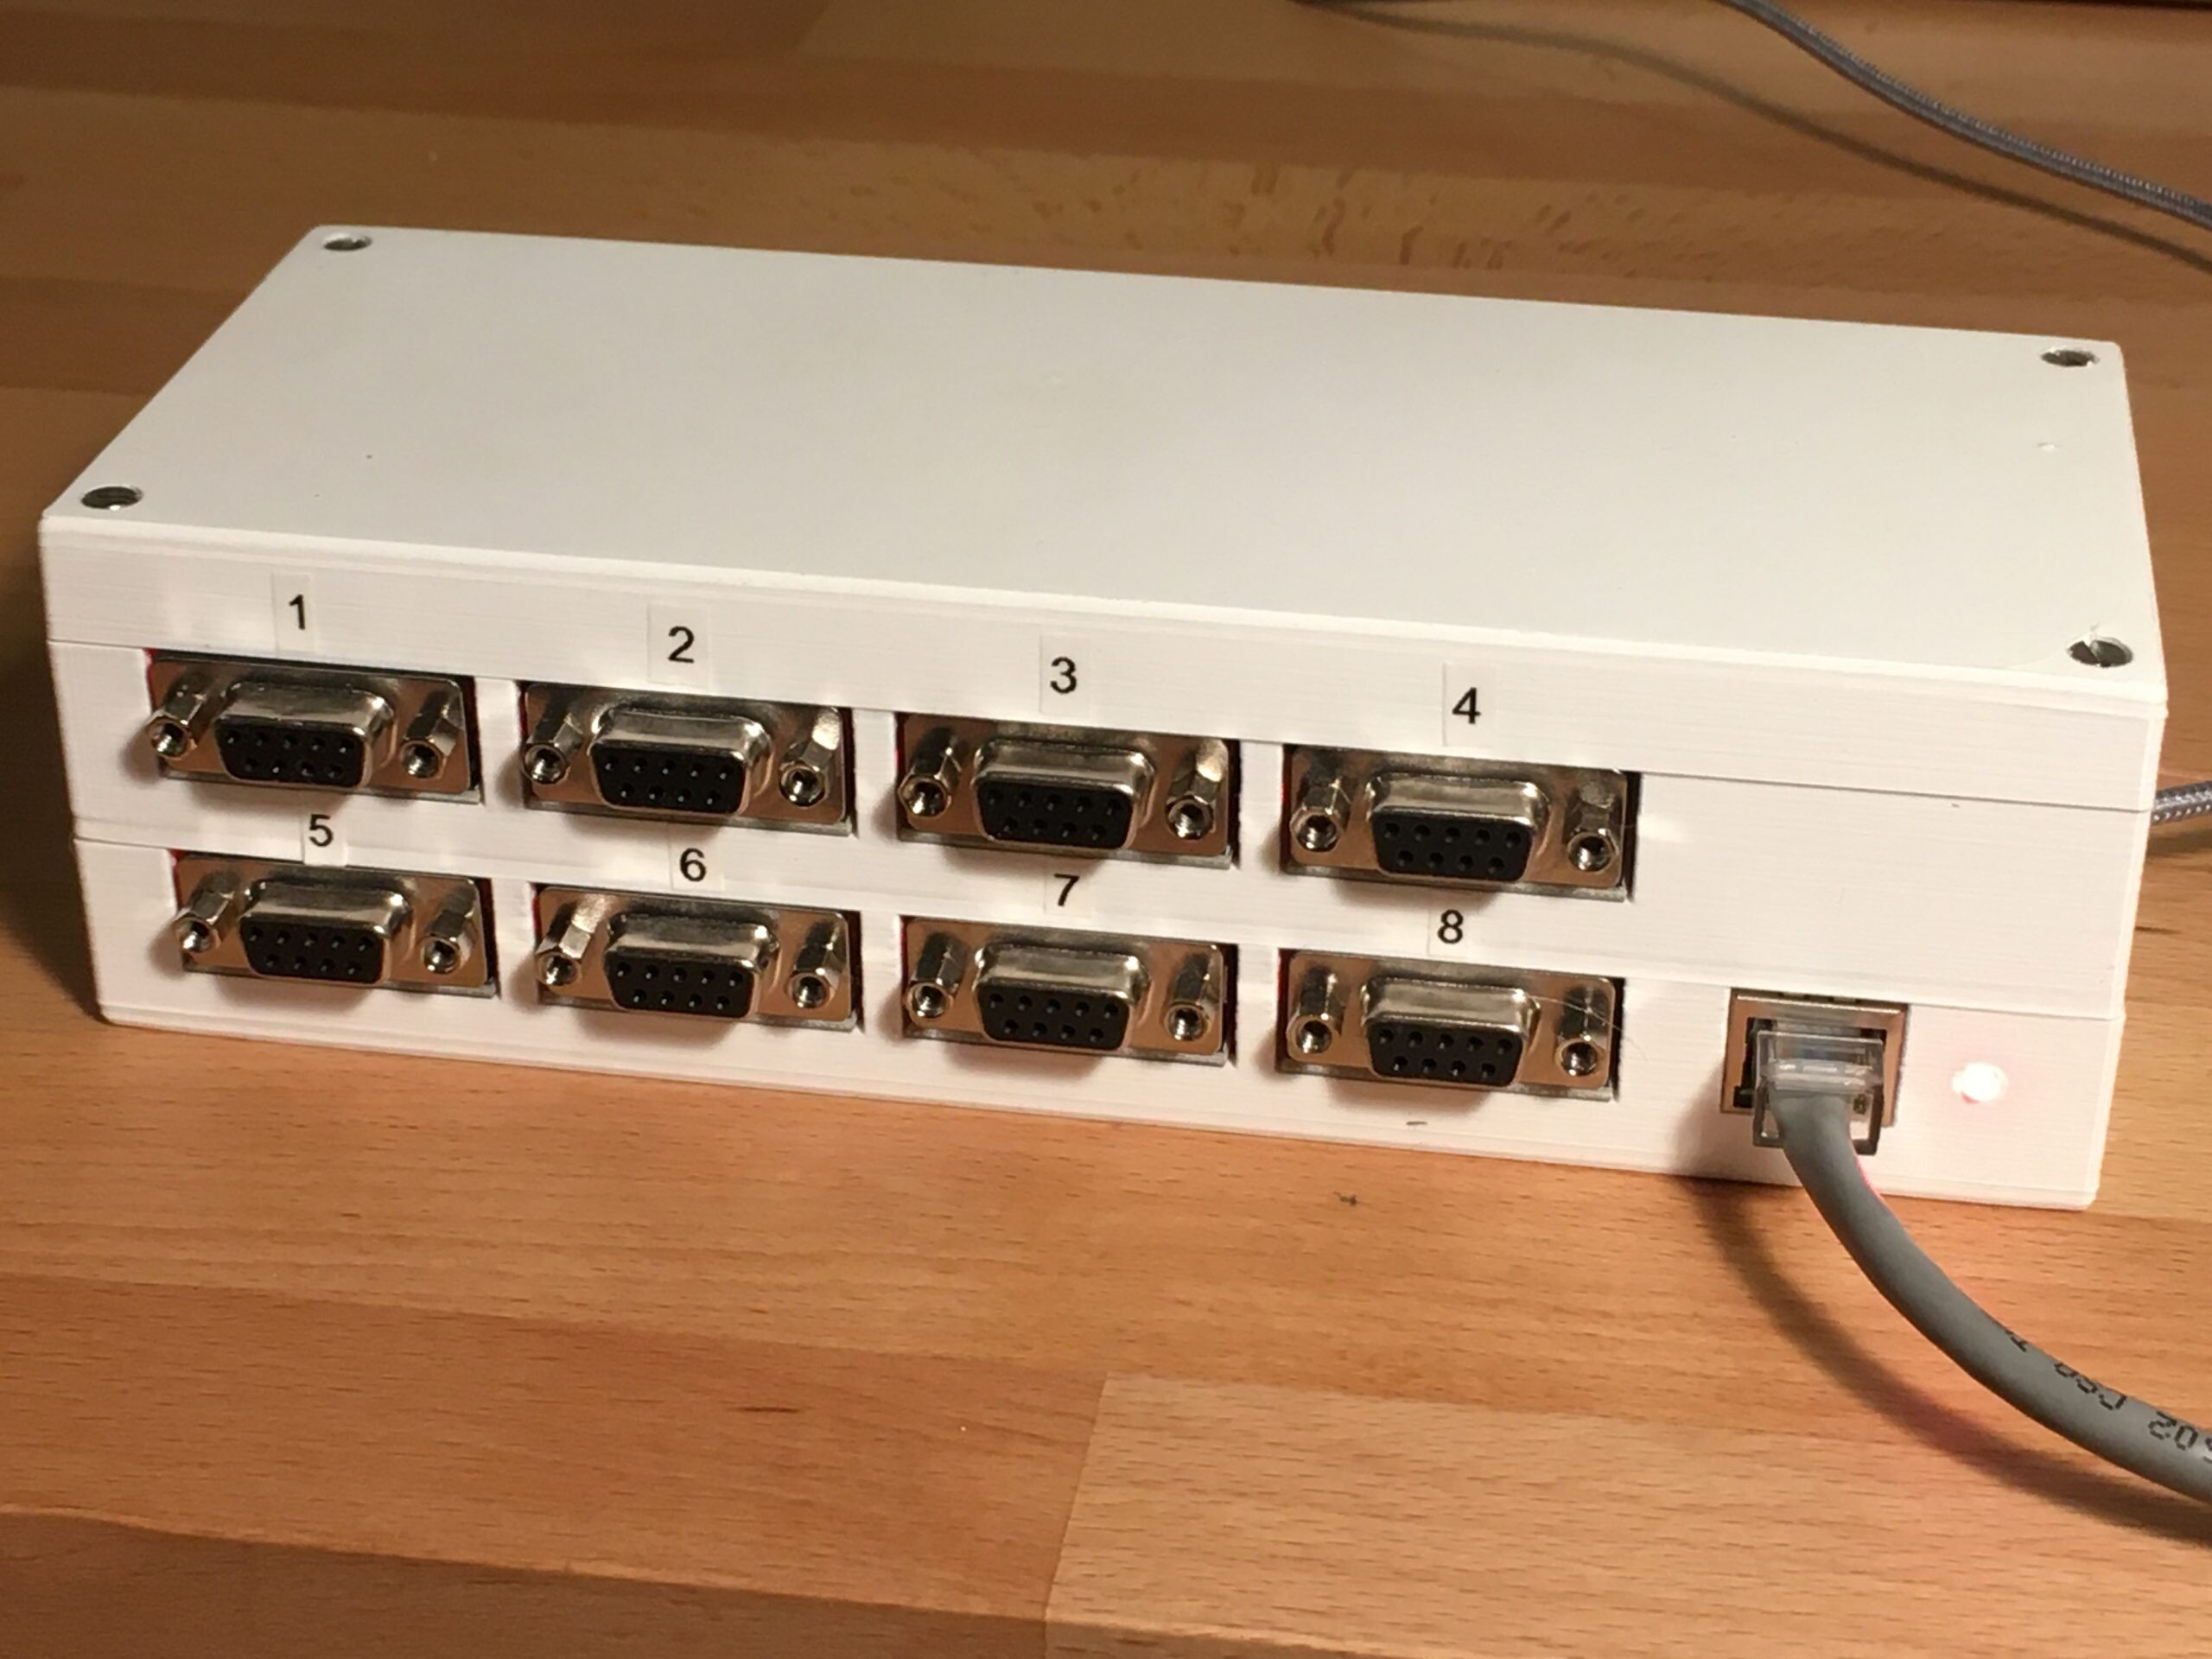
Now off to rip out the takeaway containers and tidy up the wiring!
Teensy software available here
Fusion 360 CAD files here