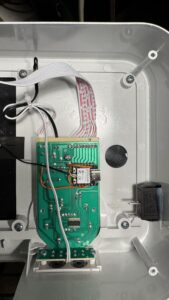
I have a Homecom wall mounted heater which I’d like to integrate into a home automation system. So we need to hack!
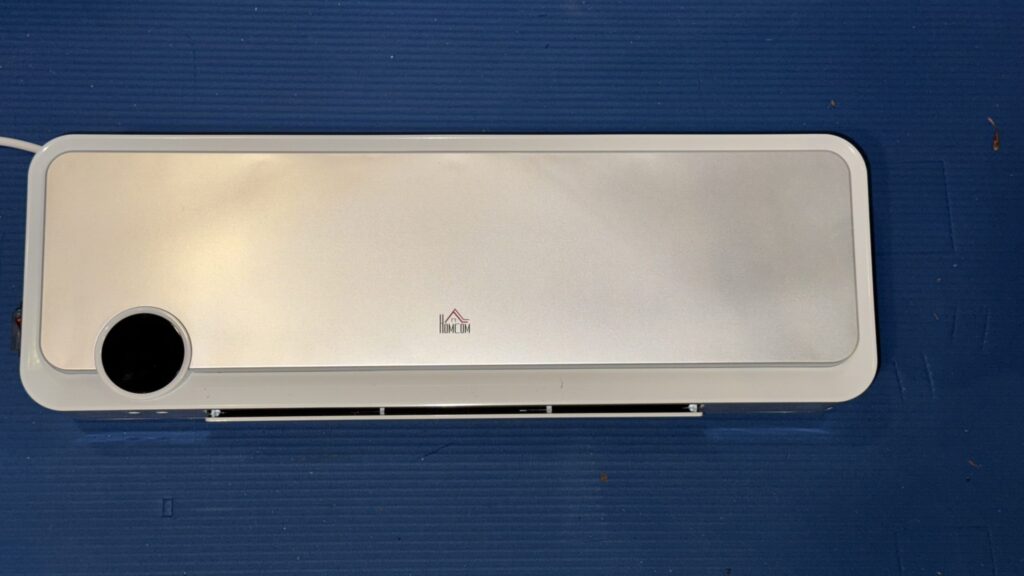
Remove 5 philips screws to release the back cover. Disconnect the ribbon cable and the switch spade terminals to separate the front and back covers. (The spade terminals in the unit are very tight and need a fair bit of force to remove)
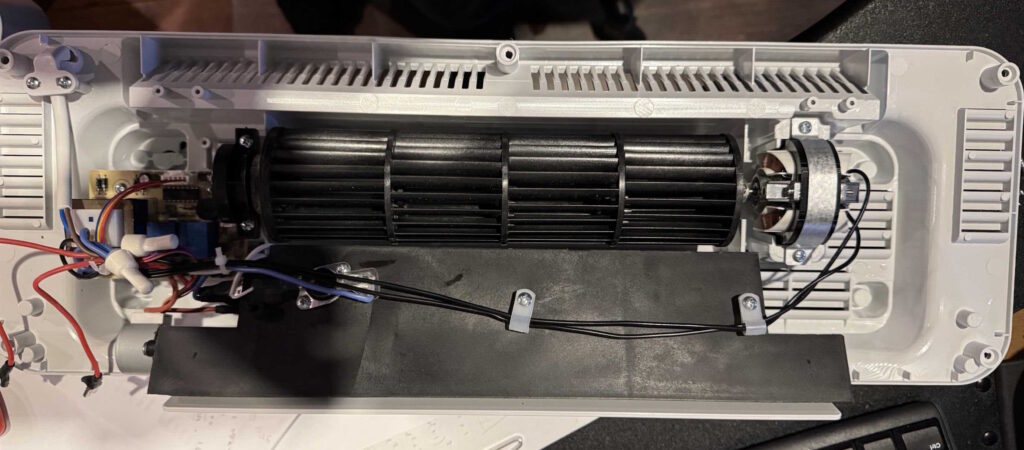
Next remove the PCB. Again the spade terminals are very tight.
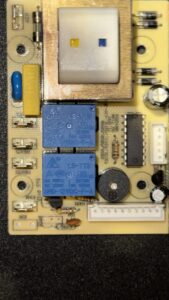
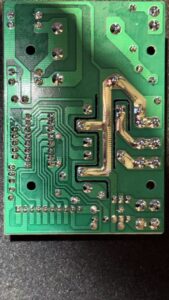
With the PCB removed we can take some pictures and reverse engineer the schematic.
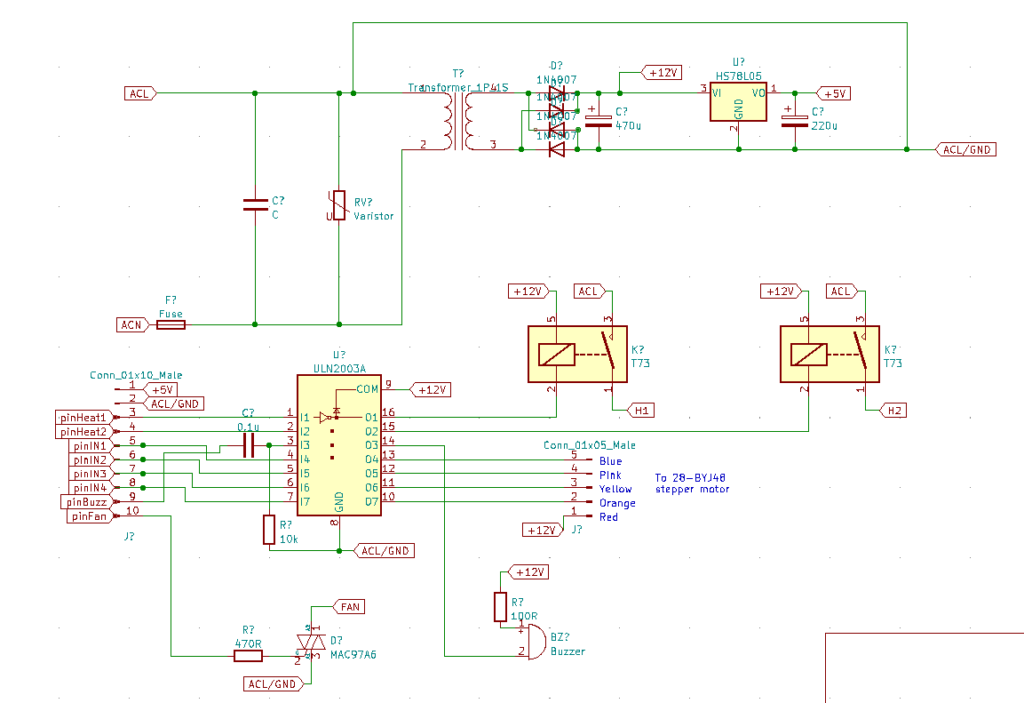
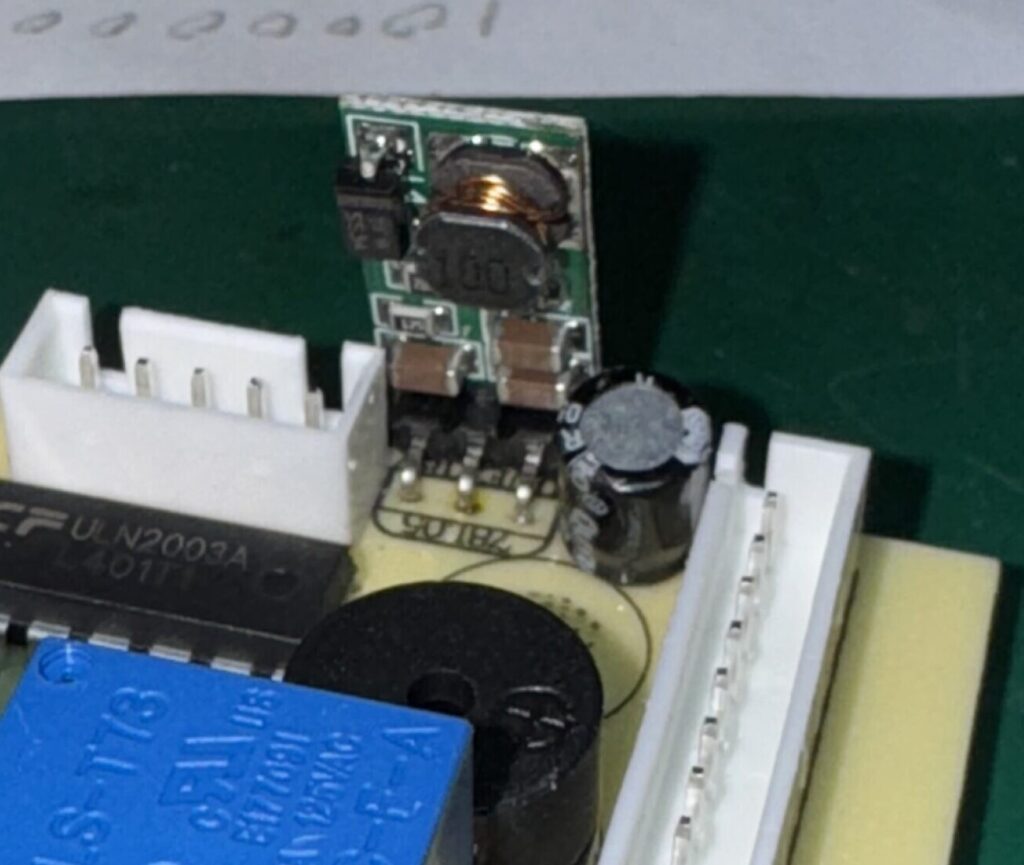
The circuit uses an HS78L05 regulator to provide a 5V supply, but this is limited to about 100mA which is not enough for the ESP32 I intend to use. So I replaced it with a 5V buck convertor with a TO-220 form factor which plugs neatly into the PCB.
For the controller I used a Xiao ESP32C3 and wired it up using some 0.1″ Dupont connectors. Using the original ribbon cable would be neater but I had some ideas about reusing the original PCB.
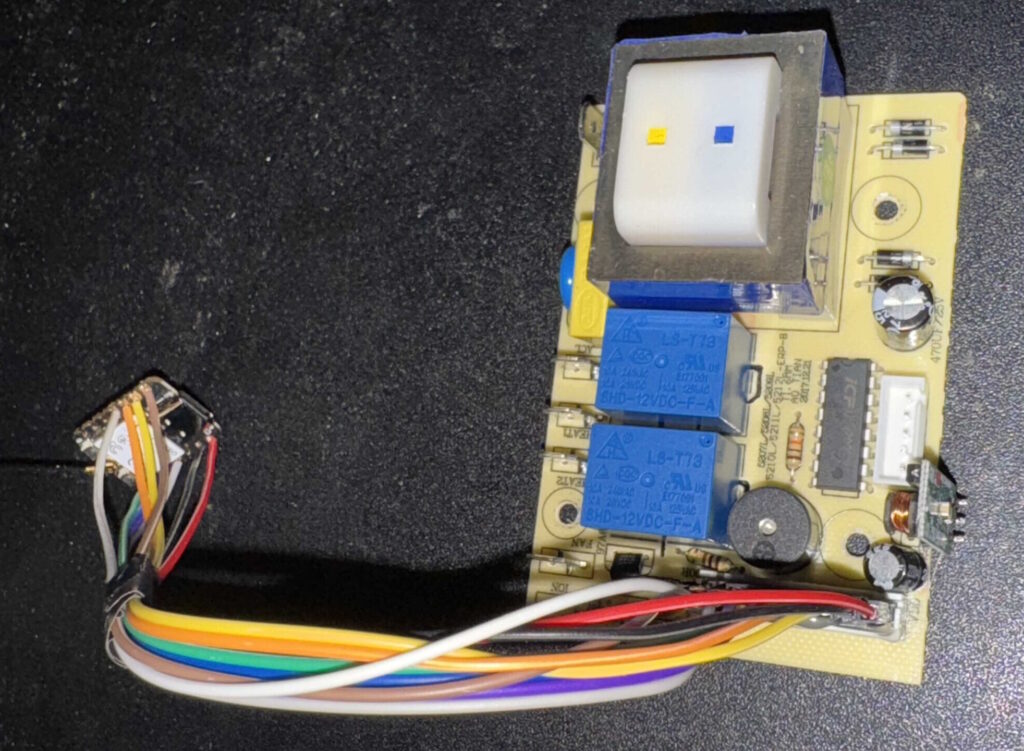
Be careful, the ESP32 ground is tied to mains AC Live! I initially uploaded a sketch to the bare controller with basic OTA functions enabled. Once that was done I could then install the ESP32 in the unit and safely upload over the air as needed.
Firmware
Available here: https://github.com/ynformatics/WallHeater
I use MQTT for automation so the firmware exposes some MQTT topics as follows:
“homecom/heat”: accepts “LOW”, “HIGH” and “OFF” commands. “LOW” sets 1kW mode, “HIGH” 2kW mode. The fan is automatically turned on when heating is selected. “OFF” turns off the heaters and then the fan after a 30s cool down delay.
“homecom/cool”: accepts “ON” and “OFF” commands to turn the fan on or off. No heating.
“homecom/swing”: accepts “ON” and “OFF” commands to enable flap movement
“homecom/beep”: accepts a “BEEP” command
“homecom/status”: publishes status message every 5s
“homecom/debug”: publishes debug messages, including the WiFi address assigned at start up.
Part 2 – The display PCB
So the lure of the other PCB with its buttons and LEDs was too strong to resist. Here are the close up pictures:
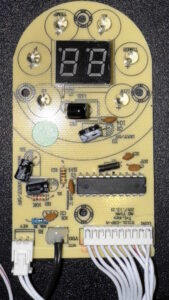
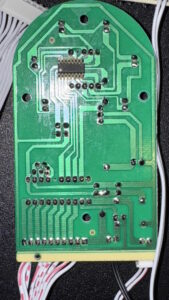
And the reverse-engineered schematic showing the original microprocessor location before removal and the connections to the Xiao ESP32C3 module:
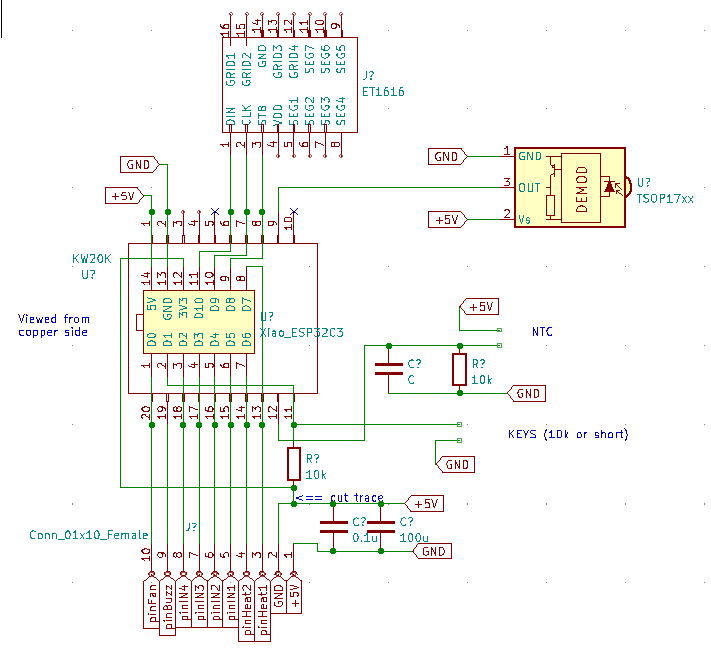
The original microprocessor is a “KW20K”. As well as sending control signals to the main PCB, it reads data from a TSOP17 IR remote receiver, an NTC temperature sensor and two push buttons. It also controls the display via driver IC labelled “ET1616”. I’m not interested in the remote or temperature sensor, just the display and buttons.
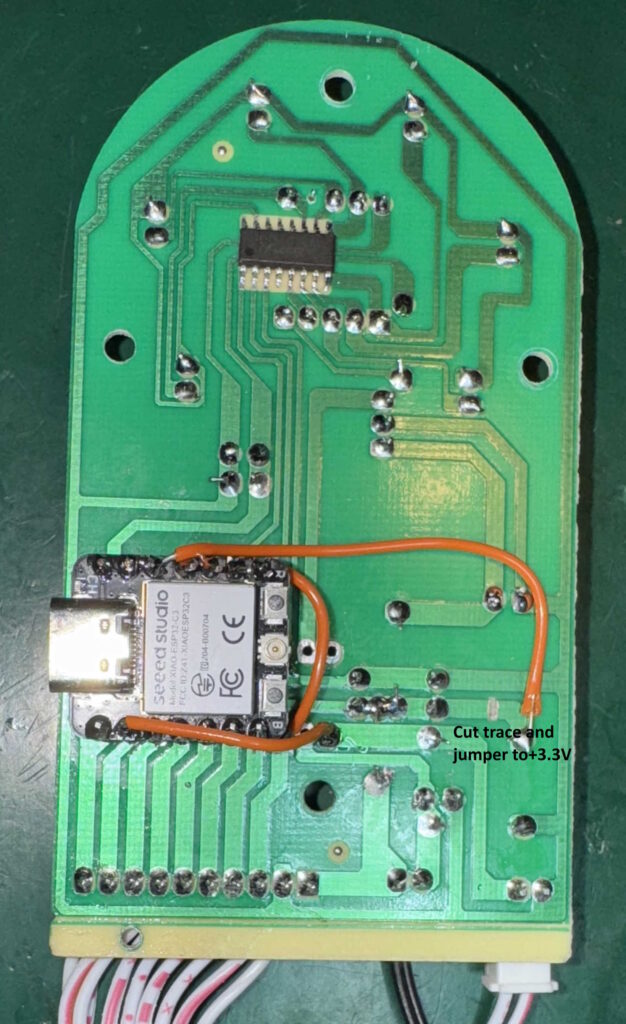
The buttons are easiest to understand. One shorts the data line to ground, the other via a 10k resistor. Combined with the 10k pull-up resistor on the PCB this gives either 0V or VCC/2 V on the data line. On the original PCB the pullup goes to +5V which needs re-routing to an ESP32 +3.3V pin. This is easily done by cutting the track as shown and running a jumper wire.
There was no information online about the ET1616, but I did find a datasheet (https://archive.org/details/gn-1616-datasheet) for a GN1616 in Chinese which appears to be the same part. It’s a 4 digit, seven segment driver with an SPI interface. Digits 3 and 4 drive the visible seven segments and digit 2 drives the individual LEDs. After a bit of Google translating and probing its SPI secrets were revealed and can be found in the source code here: https://github.com/ynformatics/WallHeater2
I de-soldered the original microprocessor and wired in the the Xiao module as shown in the schematic. We are using all available pins so I left out the buzzer signal as I don’t intend to use it. [Note: not tested but it could share pin D1 with the buttons. Switch D1 to output mode, send a tone then switch back to input mode]
I added some more MQTT topics for the new functionality:
“homecom/display/number”: accepts a number (0-99) for display. -1 will blank the display.
“homecom/display/leds”: accepts a comma separated list of LEDs (1-6) to turn on. 0 will turn off all LEDs.
“homecom/display/hex”: accepts a 4 byte number in hexadecimal notation. Byte 3 (MSB) is ignored, byte 2 sets the LEDs, byte 1 the tens digit segments, byte 0 the units digit segments;
“homecom/display/brightness”: accepts a number from 0-7. 0 = display off, 7 = full brightness.
“homecom/button”: publishes a “T” if the clock button is pressed, “F” if the “F” button is pressed
Here is a close up of the Xiao ESP32C3 in place with track mods shown.
And here is the PCB installed in the case:
